
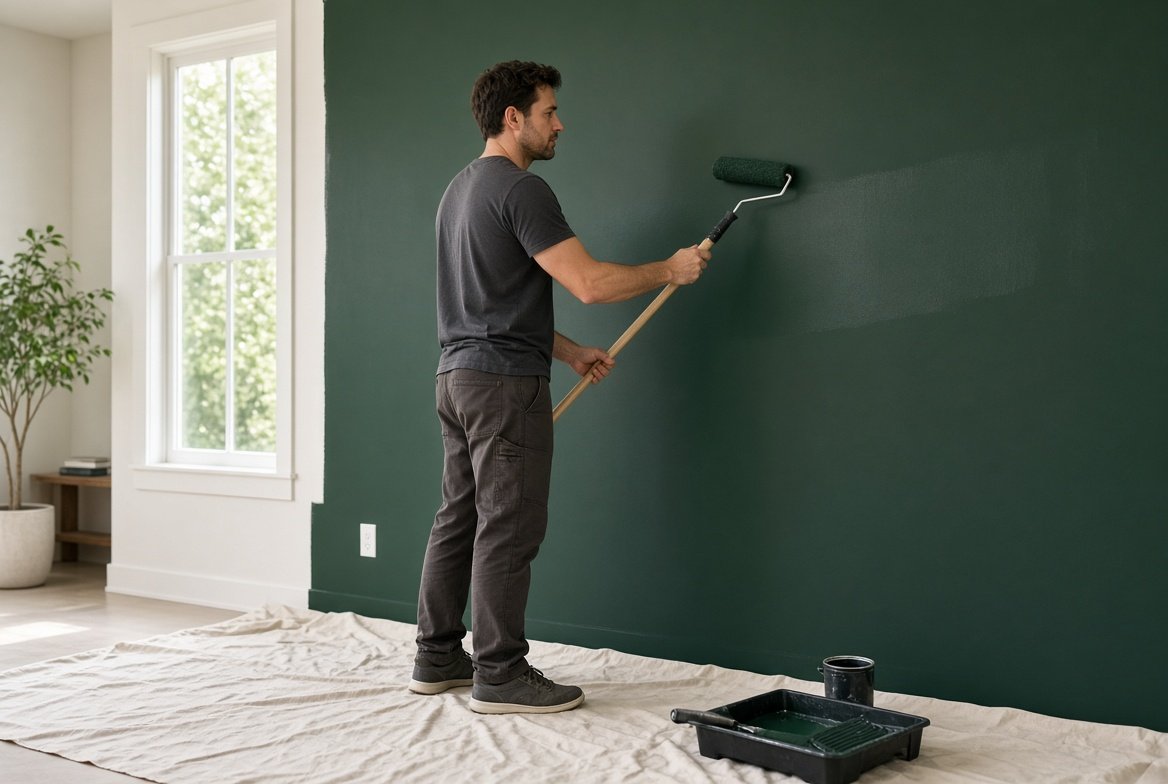

You walk into the room and your eyes go straight to one wall — the one that feels intentional, dramatic, and pulled-together. That single painted surface changes the entire atmosphere without requiring you to repaint the whole room or buy new furniture. An accent wall is one of the highest-impact, lowest-cost design moves you can make, and it is completely achievable even if you have never held a paint roller before.
This guide walks you through every stage of painting an accent wall as a true beginner. No prior experience needed. No expensive tools. Just a clear, practical process that delivers a professional-looking result you can finish in a weekend. Whether your goal is a bold statement in the bedroom, a cozy backdrop behind the sofa, or a sophisticated focal point in the dining room, the method stays the same.
Why an Accent Wall Works (And Why It Is Beginner-Friendly)
Most people assume painting a wall requires professional skill or days of preparation. In reality, focusing on only one wall dramatically reduces the risk and the mess. You only need to protect three edges instead of four, the surface area is smaller, and any small imperfections are far less noticeable than on a full-room paint job. An accent wall also lets you experiment with bold color without committing the entire room.
Psychologically, an accent wall creates depth and visual interest. It draws the eye, anchors furniture, and can even make a small room feel larger when the color is chosen thoughtfully. From a practical standpoint, it is the perfect entry-level painting project: limited scope, high reward, and easy to reverse if you ever change your mind.
This method works for any room — bedroom, living room, dining area, or even a home office — and for any wall type: drywall, plaster, or previously painted surfaces. It is especially popular among renters because the commitment is lower and the wall can usually be returned to its original color when moving out.
[Image Prompt: Cozy bedroom with a rich terracotta accent wall behind a bed with white bedding and wooden headboard, warm evening lamp light, inviting atmosphere]
Step 1 — Choose the Right Wall and the Right Color
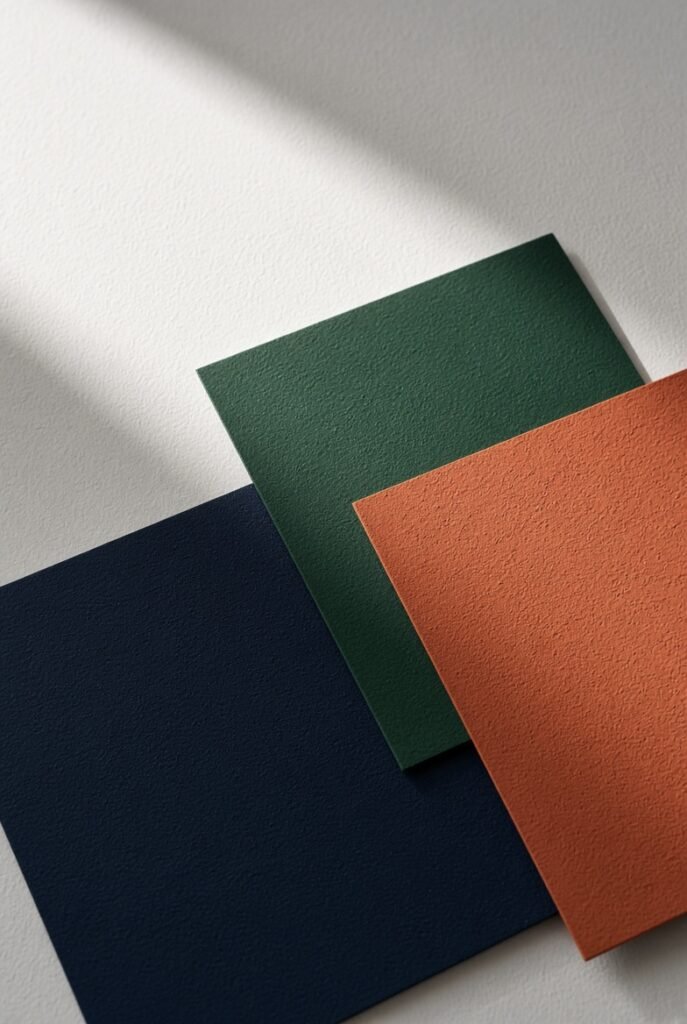
Not every wall makes a good accent wall. The strongest candidates are the walls that naturally capture attention when someone enters the room. In a bedroom this is usually the wall behind the bed. In a living room it is often the wall opposite the main entrance or the one behind the sofa. Avoid walls that are broken up by multiple windows, doors, or large built-ins if you want a clean, continuous block of color.
Color selection is where many beginners feel stuck. Here are practical guidelines:
- Darker or richer tones (deep navy, forest green, terracotta, charcoal, warm clay, or muted burgundy) create the strongest visual impact and make the wall feel intentional.
- In small or low-light rooms, mid-tones or slightly lighter deep colors work better than pure black or very saturated shades that can make the space feel closed in.
- Cool colors (blues and greens) tend to feel calming; warm colors (terracotta, ochre, deep red) feel cozier and more energetic.
- Always test samples on the actual wall. Paint two large swatches (at least 12×12 inches) and observe them in morning light, afternoon light, and artificial evening light for 24–48 hours. Colors shift dramatically depending on lighting.
If you are unsure, start with a color that already appears somewhere in the room (in a rug, artwork, or throw pillow) and go a few shades deeper. This creates automatic harmony.
Step 2 — Gather Your Supplies
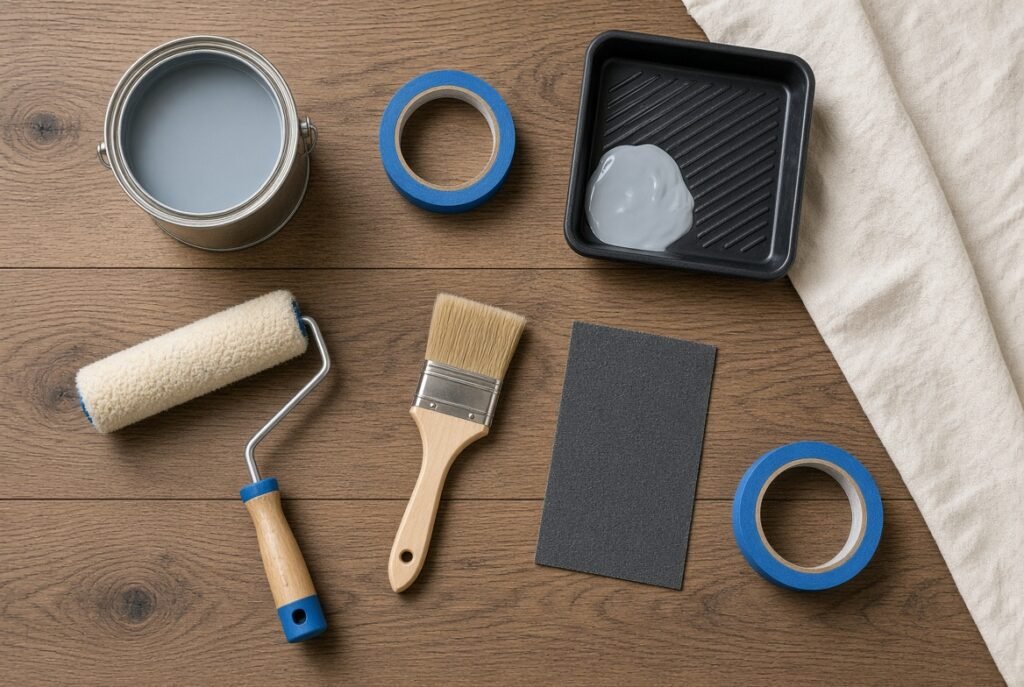
You do not need a full professional kit. A focused beginner list keeps costs low and decision-making simple.
Essential tools and materials:
- Paint (one gallon covers most standard accent walls with two coats)
- Primer (necessary if the wall is stained, glossy, or you are making a big color jump)
- High-quality 2–2.5 inch angled sash brush
- Paint roller frame + ¾-inch nap roller cover (suitable for most interior walls)
- Paint tray and liners
- Painter’s tape (blue or green, medium adhesion)
- Canvas drop cloths or heavy plastic sheeting
- 120–150 grit sandpaper or sanding sponge
- Clean microfiber cloths and a mild all-purpose cleaner
- Step stool or small ladder
Helpful extras:
- Extension pole for the roller (saves your back and shoulders)
- Paint edger tool (optional, for faster clean lines)
- Plastic sheeting and painter’s plastic for furniture
- Disposable gloves and an old long-sleeve shirt
Buy good-quality tape and a decent brush — these two items make the biggest difference in how professional the finished edges look.
Step 3 — Prepare the Wall Properly
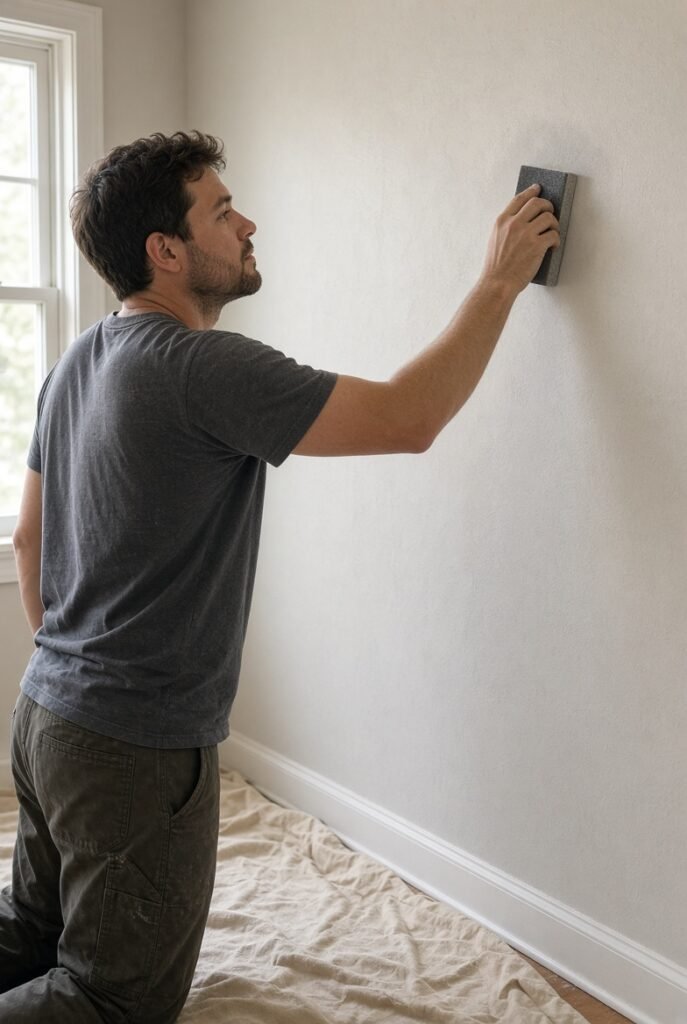
Preparation is the step that separates a messy DIY job from a clean, long-lasting result. Skipping or rushing it is the most common reason accent walls look amateur.
- Clear the zone. Move furniture at least three feet away or cover it completely with plastic. Remove wall décor, outlet covers, and switch plates.
- Clean thoroughly. Wipe the entire wall with a damp cloth and mild detergent to remove dust, grease, or residue. Rinse with clean water and let the wall dry completely.
- Repair imperfections. Fill nail holes, small cracks, and dents with lightweight spackle. Once dry, sand smooth until the surface feels even.
- Sand the whole wall lightly. This dulls any existing sheen and helps the new paint (or primer) grip better. Wipe away all sanding dust with a slightly damp cloth.
- Prime if needed. Apply a coat of primer when covering stains, glossy paint, or making a dramatic color change (especially light to dark). Let it dry fully according to the product instructions.
A well-prepped wall accepts paint evenly and reduces the chance of peeling or patchiness later.
Step 4 — Tape Clean Edges
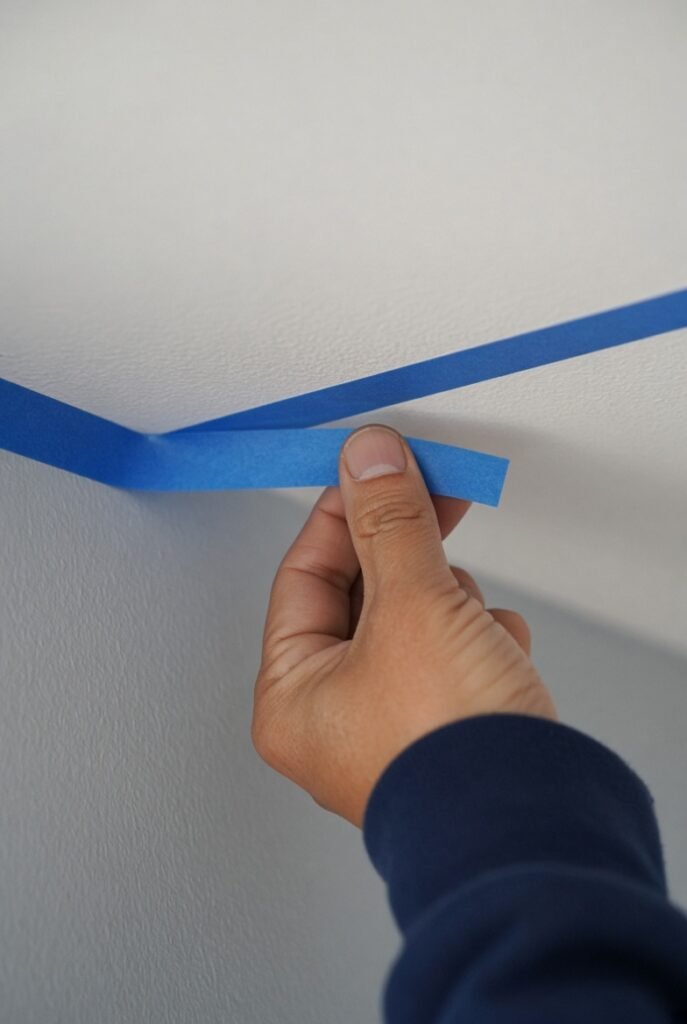
Painter’s tape is what creates those sharp, professional lines that make an accent wall look intentional rather than messy.
Apply tape along every edge where the accent wall meets the ceiling, the two adjacent walls, and the baseboards. Press the tape down firmly with a plastic card, credit card, or your fingernail to seal the edge and prevent paint from seeping underneath. If the walls are not perfectly straight (common in older homes), leave a tiny 1/16-inch gap or “float” the tape slightly — this often produces a cleaner visual result once the tape is removed.
Tip: After taping, run a thin bead of the accent color along the tape edge with a small brush and let it dry. This seals any microscopic gaps and further reduces bleed-through.
Step 5 — Paint Like a Pro (Even If You’re Not)
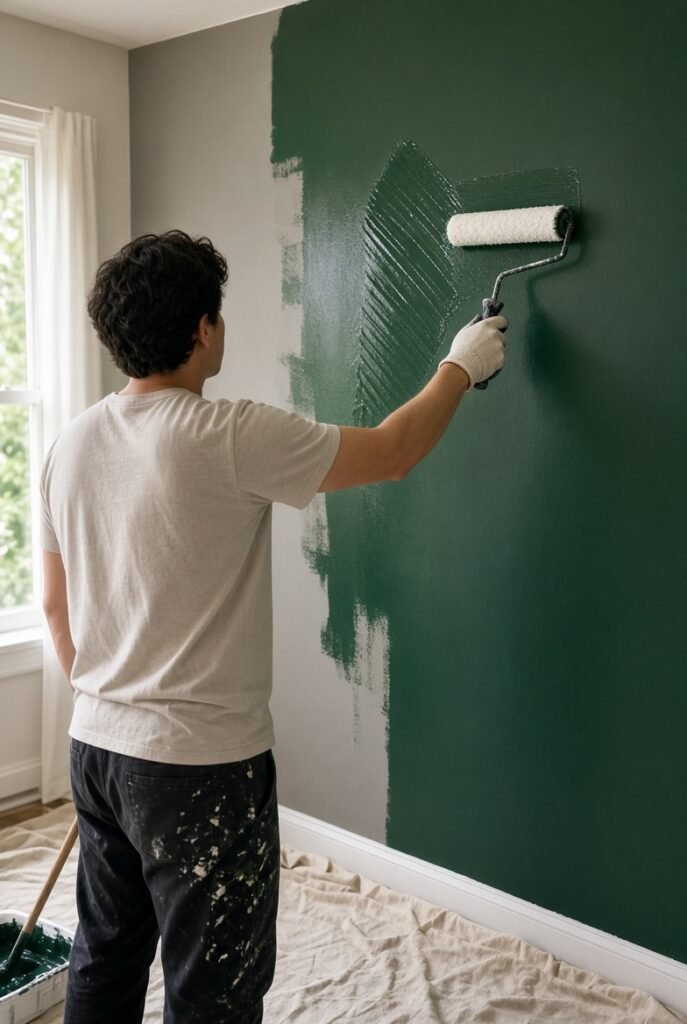
Work methodically and you will avoid the most common beginner frustrations (streaks, roller marks, and drips).
- Cut in first. Using the angled brush, paint a 2–3 inch border along all taped edges and into the corners. This “cutting in” creates a frame that the roller can blend into.
- Load the roller properly. Dip it into the tray, roll off excess on the ridged part so it is evenly coated but not dripping.
- Roll in sections. Start in the middle of the wall and work in overlapping “W” or “M” patterns. Always maintain a wet edge — roll back into the previous section while the paint is still wet to avoid lap marks.
- Apply two thin coats. One thick coat looks uneven and is more likely to drip. Let the first coat dry completely (usually 2–4 hours, check the can) before applying the second.
- Remove the tape at the right time. Peel the painter’s tape away while the final coat is still slightly tacky (not fully dry). Pull it slowly at a 45-degree angle away from the painted surface for the cleanest line.
Work in good lighting and take short breaks. Painting is more enjoyable when you are not rushing.
Step 6 — Clean Up and Evaluate
Wash brushes and rollers immediately with warm soapy water (latex paint) or the appropriate solvent (oil-based). Fold drop cloths carefully so dried paint flakes do not scatter. Replace outlet covers and switch plates.
Once everything is dry, step back and look at the wall in different lighting conditions. Most small imperfections become far less noticeable once furniture and décor are returned to the room. If you spot a tiny touch-up area, use a small artist’s brush for precision.
Common Mistakes to Avoid
- Skipping primer when going from light to dark or covering glossy surfaces.
- Applying paint too thickly, which causes drips, texture issues, and longer drying times.
- Leaving painter’s tape on until the paint is fully cured — it can tear the dried paint when removed.
- Choosing a color from a tiny paint chip without testing large samples on the actual wall.
- Painting in direct harsh sunlight or very high humidity, both of which affect how the paint levels and dries.
- Neglecting to seal the tape edge, leading to bleed-through and fuzzy lines.
Frequently Asked Questions
How long does it take to paint an accent wall? Most beginners complete the active work in 4–6 hours spread across one day, plus drying time between coats. Preparation and cleanup add another 1–2 hours.
Do I always need primer? Yes if the wall has stains, is glossy, or you are making a significant color change. No if you are painting a similar shade over existing matte or eggshell paint in good condition.
What sheen is best for an accent wall? Eggshell or satin is ideal for most rooms — durable enough to wipe clean yet not overly reflective. Matte can work in low-traffic areas if you prefer a softer look.
Can I paint an accent wall in a rental apartment? Yes in most cases. Many landlords allow it as long as you return the wall to the original color (or a neutral) before moving out. Always get written permission if possible.
How do I fix small mistakes after the paint dries? Lightly sand the area, wipe clean, and touch up with a small brush using the same paint. Feather the edges so the repair blends.
Final Thoughts
Painting an accent wall is one of the most forgiving and rewarding DIY projects for beginners. The limited scope keeps the stakes low, while the visual payoff is immediate and dramatic. Measure the wall, prepare it carefully, work in thin even coats, and remove the tape at the right moment — and you will end up with a wall that looks intentional and polished.
Start this weekend with a single gallon of paint, a free afternoon, and the steps above. The transformation is almost always bigger than the effort required, and once you finish your first accent wall you will likely start noticing other rooms that could use the same treatment.